
I used 2x3 boards for support underneath, planning to use some OSB (like plywood) for the shelf itself, which I had left over from the garage shelves a few months ago.

Unfortunately, one of the boards split while I was nailing it in. In retrospect, the nail was a little too close to the edge to have driven it in without any sort of pilot hole. I didn't want to remove and replace the board, so I fixed it in place and added an additional nail below the split.

The first three supports were easy to add. The fourth had to be secured to its neighboring supports, which meant installing screws at an odd angle. For that, I made a dead-simple jig using scrap 2x4 and my miter saw.

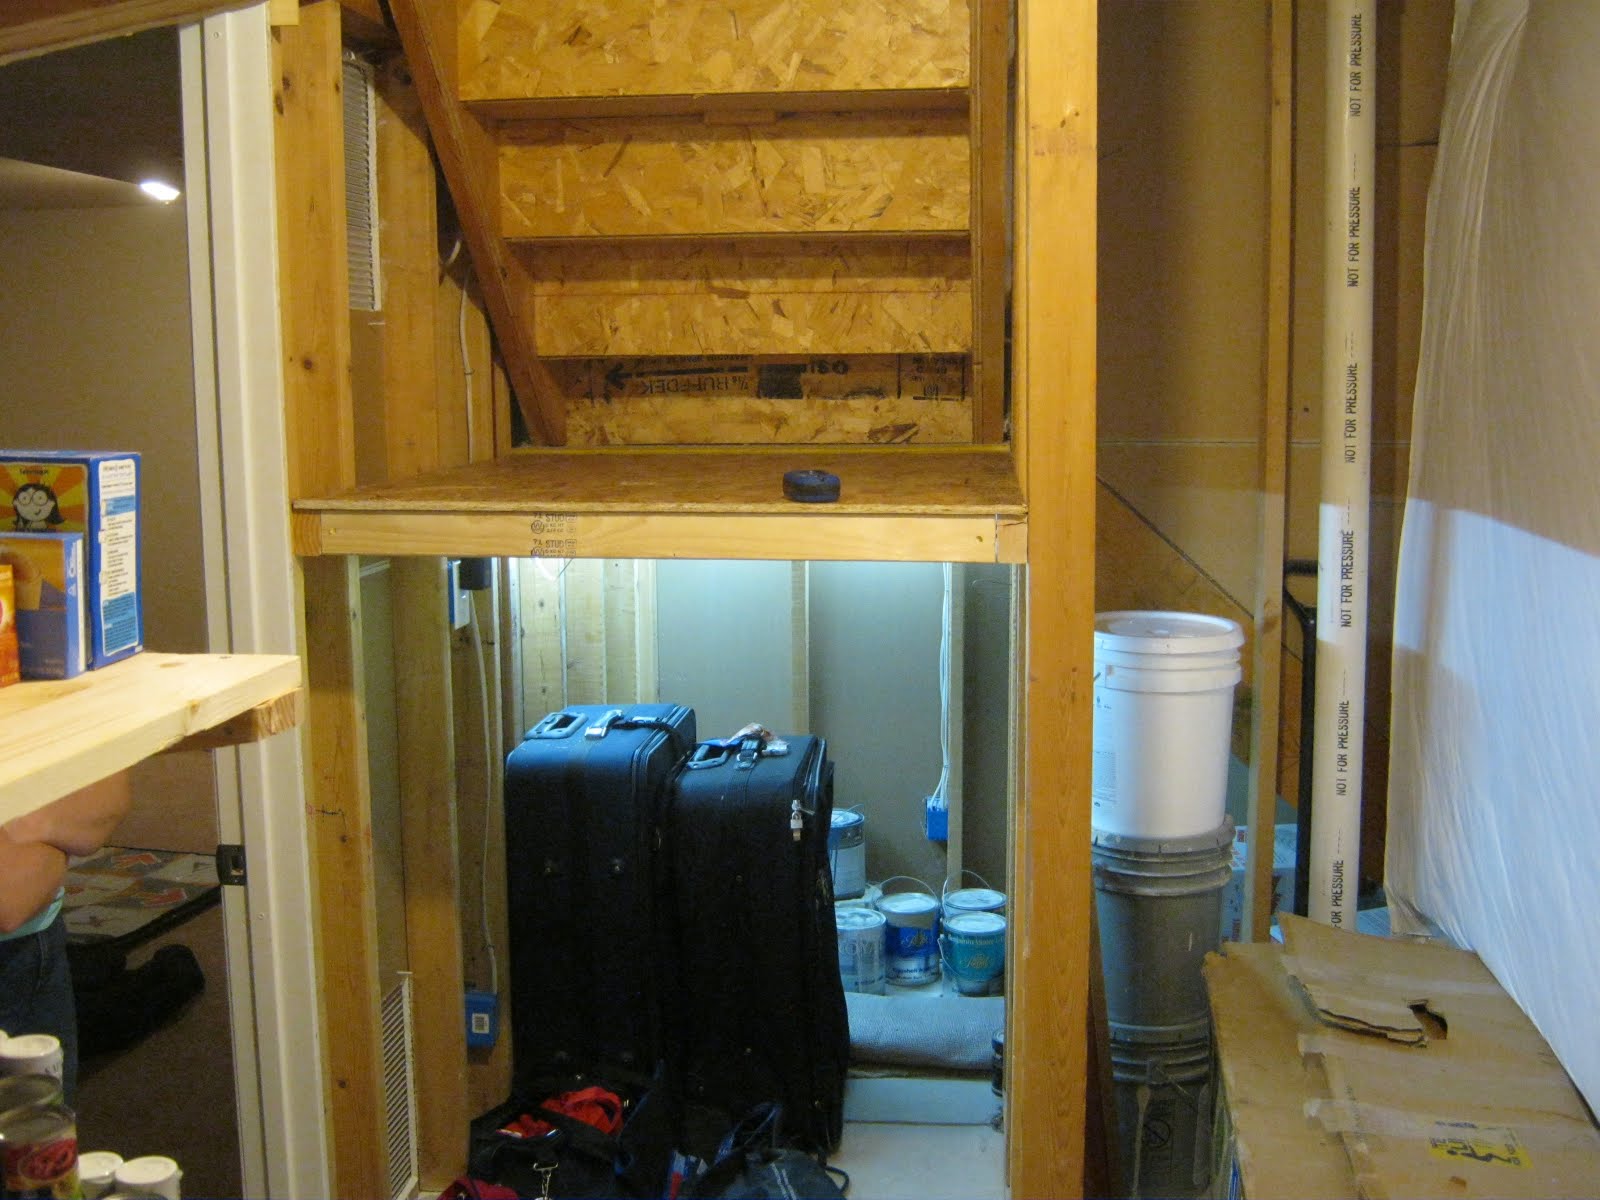
After adding the OSB panel, I installed some LED strip lighting I had left over from last month's under cabinet lighting project. They're plugged directly into a half-hot outlet, so they turn on automatically with the lights. No more flashlights!
No comments:
Post a Comment