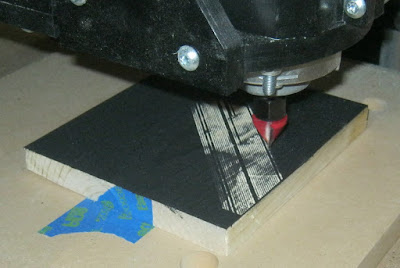
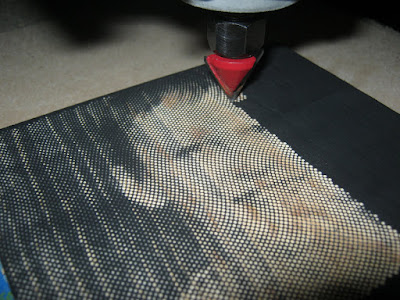
My next few attempts involved painting the wood with thicker paint before cutting, then milling the portions I wanted to be light. I used GIMP for my first attempt. If you want to try this yourself, just follow these steps: 1) Convert to grayscale: Image -> Mode -> Grayscale, 2) Apply a halftone filter: Filters -> Distort -> Newsprint (optional: change spots to lines).

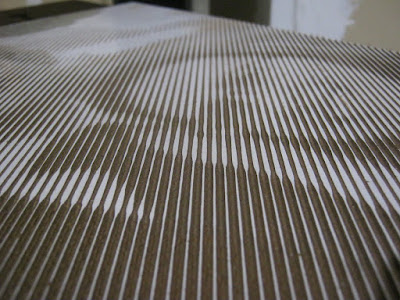
I tried two other attempts using some free software called Halftoner. It's very easy to use and I recommend it over GIMP for this. I did both lines and dots. Dots look really cool up close.

Here's all three pieces side by side, starting with the most recent. At a distance, the Halftoner wavy lines look the best, but they looks awful up close. I wasn't terribly happy with any of the results. They were too small to allow the detail to show and, regardless, the pictures came out looking too dark.

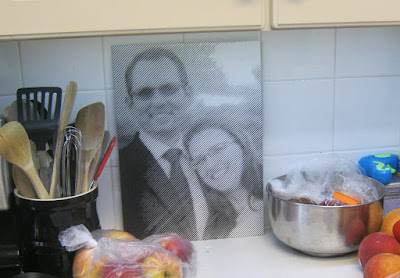
Showing additional detail is simply a matter of increasing the workpiece size, but giving the pictures a lighter, happier look requires working on a white canvas rather than a black one. I ended up using whiteboard material. Specifically, I replaced the kitchen whiteboard, which was showing its age for dry erase markers, and used the old whiteboard panel to make a picture.

After milling, I painted the board with diluted black acrylic paint, the same stuff I used to paint the earlier boards. The paint easily wipes off of the white melamine, leaving a fun piece of art. With this success, I'll continue to use the technique on future halftone projects.

No comments:
Post a Comment