I've always had a thing for unique clocks and timepieces. They're harder to find than you might think. Try Googling it. Go ahead, I'll wait. All done? Great. Then you've noticed that any "unique clocks" or similar search mostly returns your traditional clock hands with a different printed face. These are often humorous and entertaining, but not really what I want. One day I ran across plans for a wooden clock and knew I was hooked.
This is going to be a long post. :)

In August of 2009, I purchase plans for Simplicity. I had no woodworking skills at the time and had planned to make all the parts by hand on a scroll saw. I had a friend who provided the tools and helped me in purchasing the birch plywood. However, the time commitment didn't meet his interest level, so he bailed on the project. Lacking the proper tools, I put the project aside for several years. I'm grateful he selected the plywood for me. It's what I ended up using in the final project.
Five years later, I had started doing the projects on this blog and purchased a CNC machine. It's the most awesome tool ever! After a couple dozen hours tweaking the design files, I started cutting pieces.

I learned a lot about my new CNC during this process. If I had it to do again, I'd be faster, make fewer mistakes, and throw away far fewer bad pieces. Regardless, the final pieces came together well.

The dremel tool was invaluable for cutting the brass pieces, which are both functional and visually striking in the wooden clock.

Just when everything was finally coming together, we packed everything up and moved. The new house's projects took up most of my free time and you can see many of them chronicled here. A couple months ago, I got around to working on the clock again. By this point, I was worried that my novice approach and compounded mistakes would prevent the clock from ever running. Still, it looked nice!

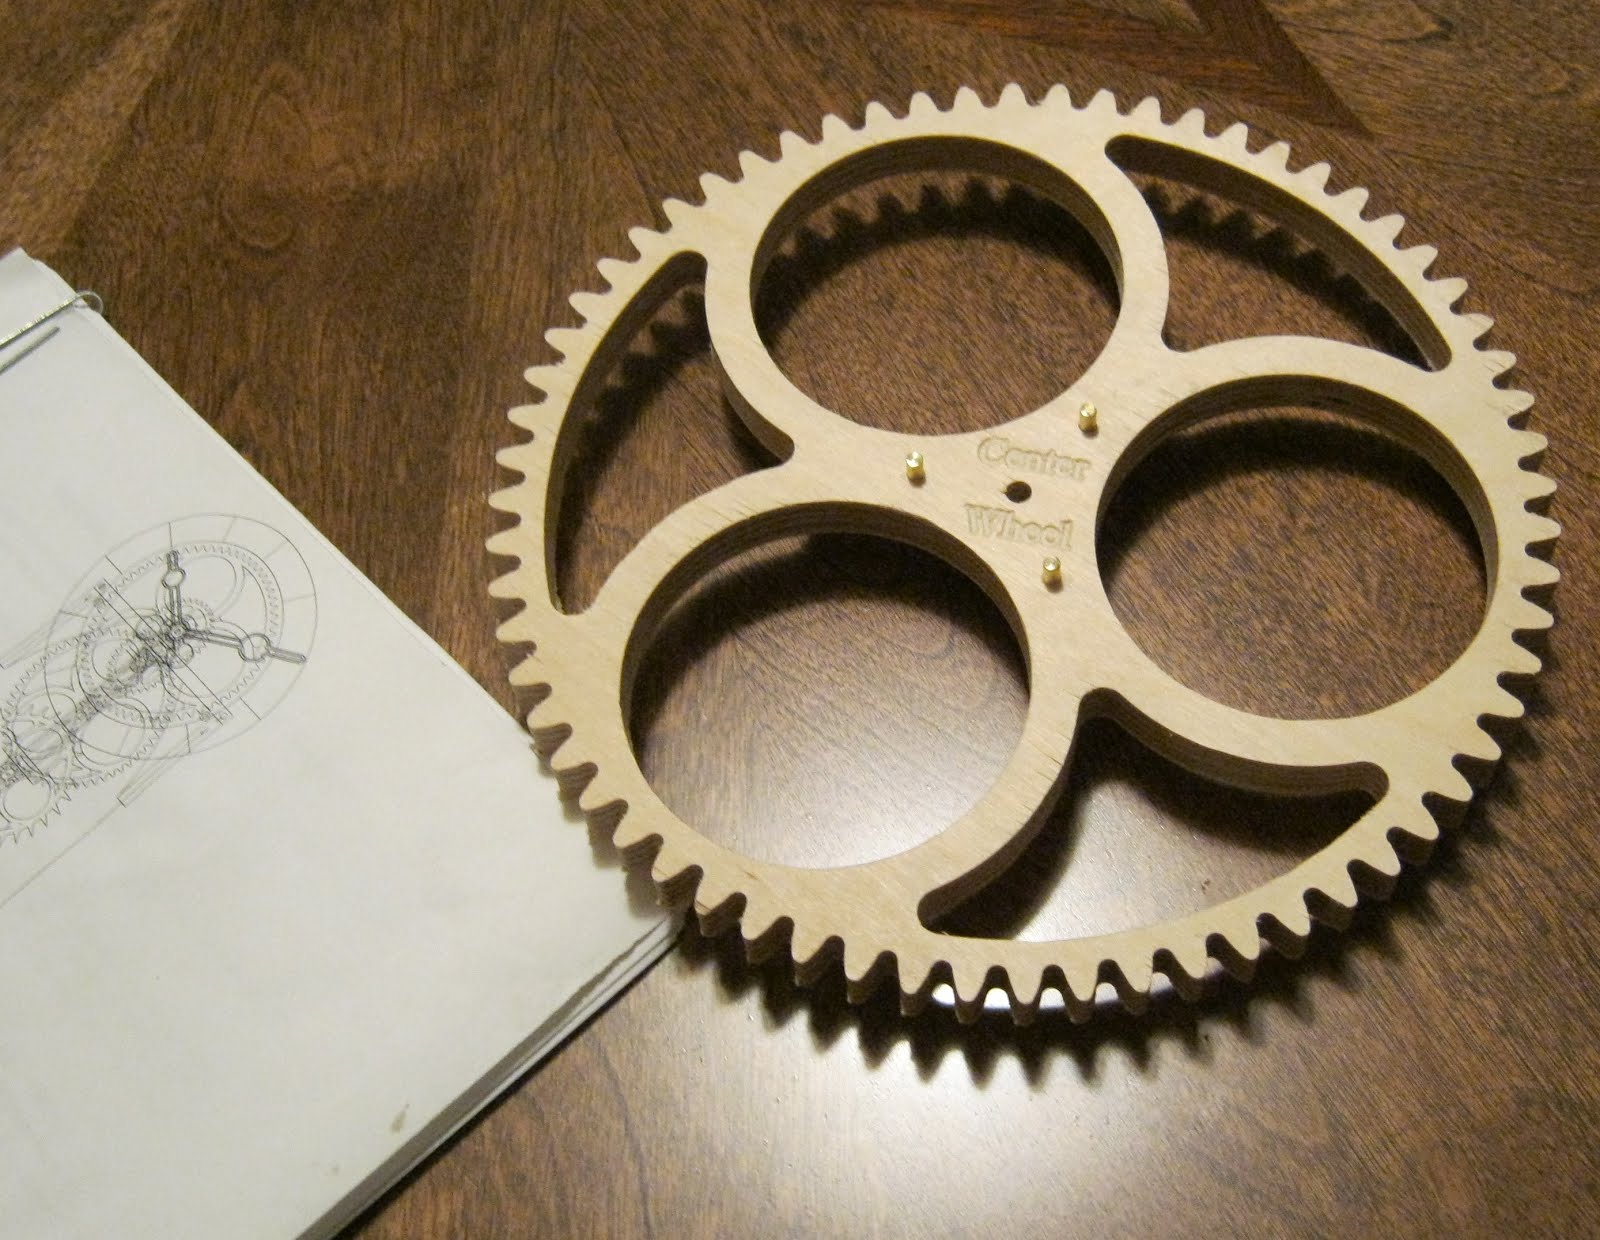
One of my biggest problems was trying to use a hand drill in place of a drill press. The precision of the clock requires true, perpendicular drilling. I ended up needing to fill in, sand, and re-drill some of the holes on the drill press I have since acquired. In this picture, I have the escapement gear filled in and ready to be sanded and drilled.

At last everything was filed down and sanded to perfection. The gears meshed well and the frame was mounted on the wall for final troubleshooting. I needed a weight for initial testing and grabbed the first thing I saw in the kitchen: a stock pot. It looked funny, but worked great. First, I ran the clock without any escapement to break in the gears. Afterwards, the escapement and pendulum were added.

Before tinkering and adjustments, the clock would run for a few minutes at a time before seizing. The first time it ran through the night was as exciting as when my son first slept through the night. I placed a scale under the pot to determine how much weight the scale would need to bear before the clock would stop. Subtracting the scale's reading from the pot's weight gave me an idea of how much weight the clock requires to run. I made some weights, filled them with pennies, and returned the pot to my wife.

With the weights, the full clock is complete! It actually runs, tells good time, and is tremendously satisfying to watch. I'm stoked! The clock is magnificent and has a pleasant, steady tick. It runs for maybe 30 hours on a wind using a 2.75 lb weight.


Thanks for reading. It's been a long road and I'm very pleased with how everything turned out.
(August 2017 update) The clock has been ticking steadily for months now! I finally decided it was too hard to read the time from a distance, so I replaced the original birch ply hands with walnut hands. They provide a nice contrast.


