Sunday, October 29, 2017

Spooky Halloween Eyes

[Updated November 2017 with a Halloween video]

Halloween is a fun excuse for making cool costumes and projects. I thought I'd try a Halloween decoration--something we could put in the yard on Halloween and use as decorations in our church's Trunk or Treat event.

The idea was to hide pairs of glowing eyes throughout the yard that would slowly light up, blink a few times, then fade back to darkness. With several of these hidden around, you can't tell where each one is hidden and the yard looks haunted. The original idea came from an article that wired a few of these together, but for my version I eliminated the wires and made each pair of eyes completely independent of the rest.


My first task was creating a simple circuit board. You could do this yourself with wires and a stick, but I was curious how well the CNC could do at making circuit boards. It did quite well! The results are easier than wires and cheaper to produce than anything you could buy.


Following that, I wrote a microcontroller program to control the eyes. The microcontroller makes this project utterly simple, requiring only one component to control all the blinking and allowing the various parameters to be randomized: how fast the eyes fade on/off, how many times they "blink", how long they stay dark, etc. This microcontroller, a PIC10F200, is roughly the size of a grain of rice. Larger versions are available, but I wanted to see if the CNC could machine boards with such fine details.


After programming the microcontroller, I added a battery holder and a pair of LEDs to each board. Just put in a battery to turn it on. I haven't tested, but a rough calculation leads me to think these will last 6 or 7 hours on a single battery, enough to leave them on all night. (Update: These were still running fine after 12 hours of overnight use.)


(November 2017 update) Here's a short video of them on the night of Halloween.
Thursday, October 26, 2017

Halftone Art

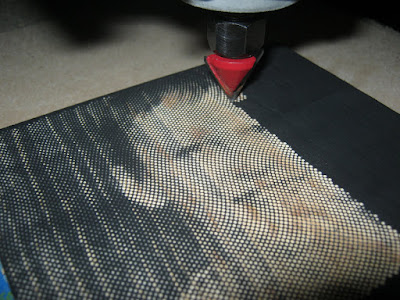
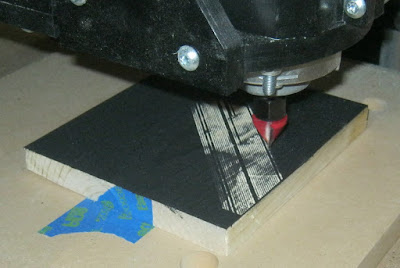
I've been playing around with making some halftone art using various techniques. My first attempt involved cutting a lined picture, painting the entire thing black, then sanding just the top to get the white (or wood color) for contrast. It didn't work at all. The pine wood was too soft and the ridges soaked in the paint. The lines were too close together because the workpiece was too small.

My next few attempts involved painting the wood with thicker paint before cutting, then milling the portions I wanted to be light. I used GIMP for my first attempt. If you want to try this yourself, just follow these steps: 1) Convert to grayscale: Image -> Mode -> Grayscale, 2) Apply a halftone filter: Filters -> Distort -> Newsprint (optional: change spots to lines).


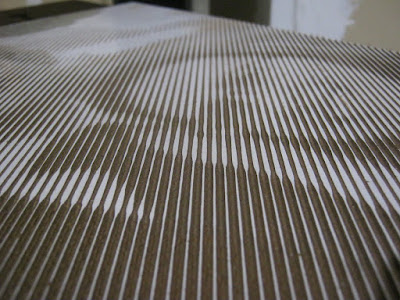
I tried two other attempts using some free software called Halftoner. It's very easy to use and I recommend it over GIMP for this. I did both lines and dots. Dots look really cool up close.


Here's all three pieces side by side, starting with the most recent. At a distance, the Halftoner wavy lines look the best, but they looks awful up close. I wasn't terribly happy with any of the results. They were too small to allow the detail to show and, regardless, the pictures came out looking too dark.


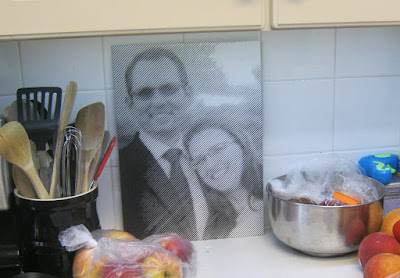
Showing additional detail is simply a matter of increasing the workpiece size, but giving the pictures a lighter, happier look requires working on a white canvas rather than a black one. I ended up using whiteboard material. Specifically, I replaced the kitchen whiteboard, which was showing its age for dry erase markers, and used the old whiteboard panel to make a picture.


After milling, I painted the board with diluted black acrylic paint, the same stuff I used to paint the earlier boards. The paint easily wipes off of the white melamine, leaving a fun piece of art. With this success, I'll continue to use the technique on future halftone projects.