Last week, my wife bought some poster board and stencil to create signs for an HOA event. With the success of the recent drag bit boot, I thought I could quickly modify the design to hold a permanent marker instead. 5 minutes later, I had my experiment up and running on index cards.
With that success, we designed a fun, simple sign for the HOA.
We also did a separate sign with the date and hours so this sign could be reused each year. These were a lot of fun to do and worked out much better than stencils would have. I'm not sure how economic permanent markers are as an ink source, but for occasional use it's fast and easy.
I mentioned my interest in unique clock design when I posted about my first wooden clock. After completing that clock, I purchased plans for Clayton Boyer's Journey, a more complicated and intricate clock. It's a lot of fun to watch!
This is going to be another long post. :)
The first phase of the project is all electronic, converting files and adapting the design to be produced on my CNC machine. Considerations include material size, bit selection, and reducing material use. Here you can see the laptop's view of the CNC controls and the webcam monitor.
Besides sanding, many pieces need additional touches. These supports are drilled to allow allen set screws, which secure them to the clock's arbors.
Arbors are cut to length and polished using the paper plans as a guide.
The clock's unique serpentine race is too long for my CNC to cut in one pass, so I cut half of it, fed it through, then cut the other half. The waste piece from the race looks a lot like an serpent, especially if you draw eyes on it. After taking the pictures, I glued the two cut pieces together to form the race.
Most of the clock is made from birch plywood, which keeps its size well and doesn't warp much in humidity or with the change of temperature. That's very important for gear precision, but for the face and hands I went with something fancier, using cherry and walnut to provide color and contrast.
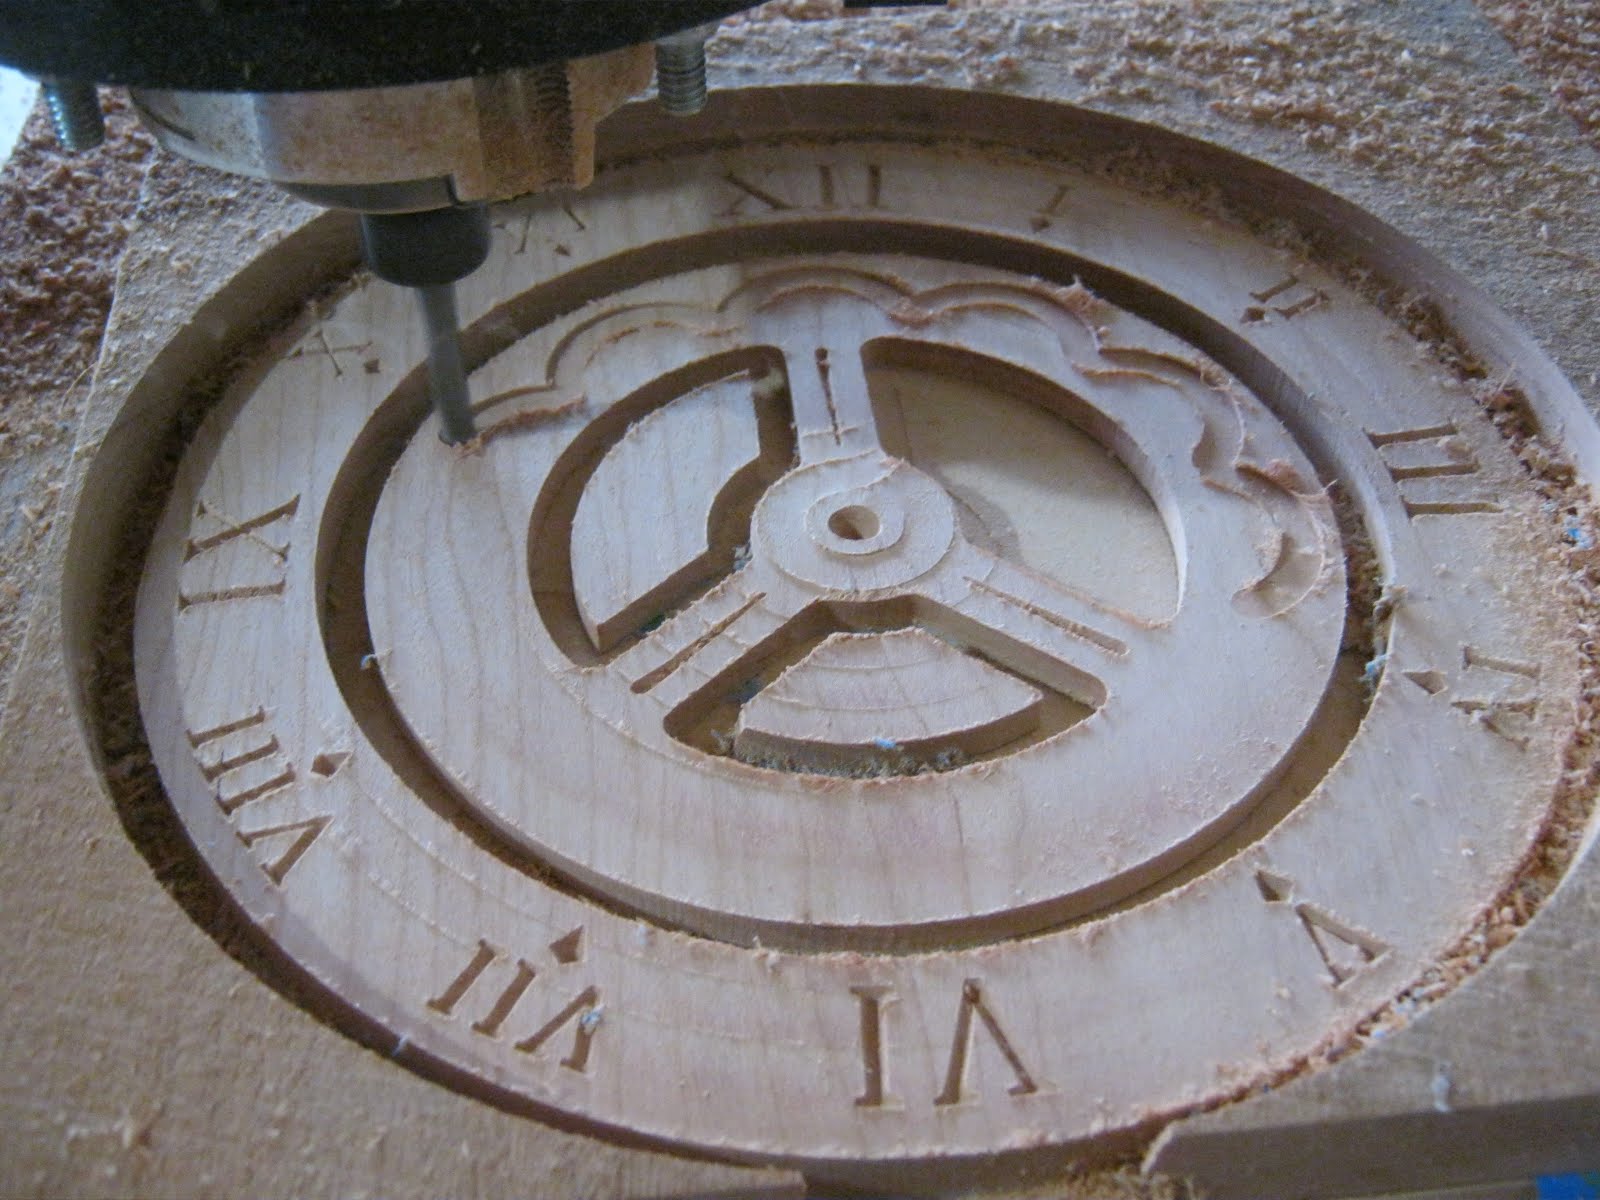
I wanted to inlay roman numerals in the face, so I started by engraving them in the wood with a V bit.
I cut both the face and the hypocycloid gear from the same piece of cherry, finished the cherry with an oil-poly mixture, then filled the engraving with superglue mixed with brass powder that I'd made by grinding a brass rod using a Dremel tool.
After curing, the superglue-brass was sanded off and the oil-poly mixture reapplied.
The hands were cut from a single piece of walnut, finished with the same mix, then the full face was glued together.
You may have noticed the pegs sticking out of the hour hand. The hour hand isn't driven directly by any normal gear. Instead, a cam on the back of the minute hand forces the hour hand around the hypocycloid gear in a way that easier to show than to describe.
The minute hand's movement is also intriguing. It's attached to a gear with a few more teeth than the stationary sun gear. A planet gear (the pinion moving around the outside of these two gears) forces the teeth into alignment as it travels, which causes the minute gear (and minute hand) to rotate. Again, this is easier to understand by watching than reading. For this video, I've removed the escapement and allowed the clock to run freely at a much faster rate.
Finally, the clock is complete. A chrome ball runs down the serpentine race, making electrical contact to engage the motor. The motor lifts the serpentine race, which provides the weight for the clock to run for several seconds until the process repeats. It's a lot of fun to watch!
One of the cool things you can do with a CNC machine is engrave metals and hard plastics using a drag bit, which is a pointed bit with a cheap, industrial-grade diamond. Unlike normal CNC bits, a drag bit doesn't spin while it works. Instead, it presses against the material as the machine drags it along the surface. The results look really cool and it's useful for engraving items like Zippo lighters
Unfortunately, drag big holders are too expensive (over $150) for most hobbyists that aren't using them to bring in business. Interestingly, the bits themselves are cheap (~$10). So I set about to make a budget-friendly holder.
My first attempt used a 1/4" aluminum tube capped with a small washer to prevent the bit from falling out. A piece of plastic goes between the spring and bit. The tube was capped with a screw to allow the bit to be replaced.
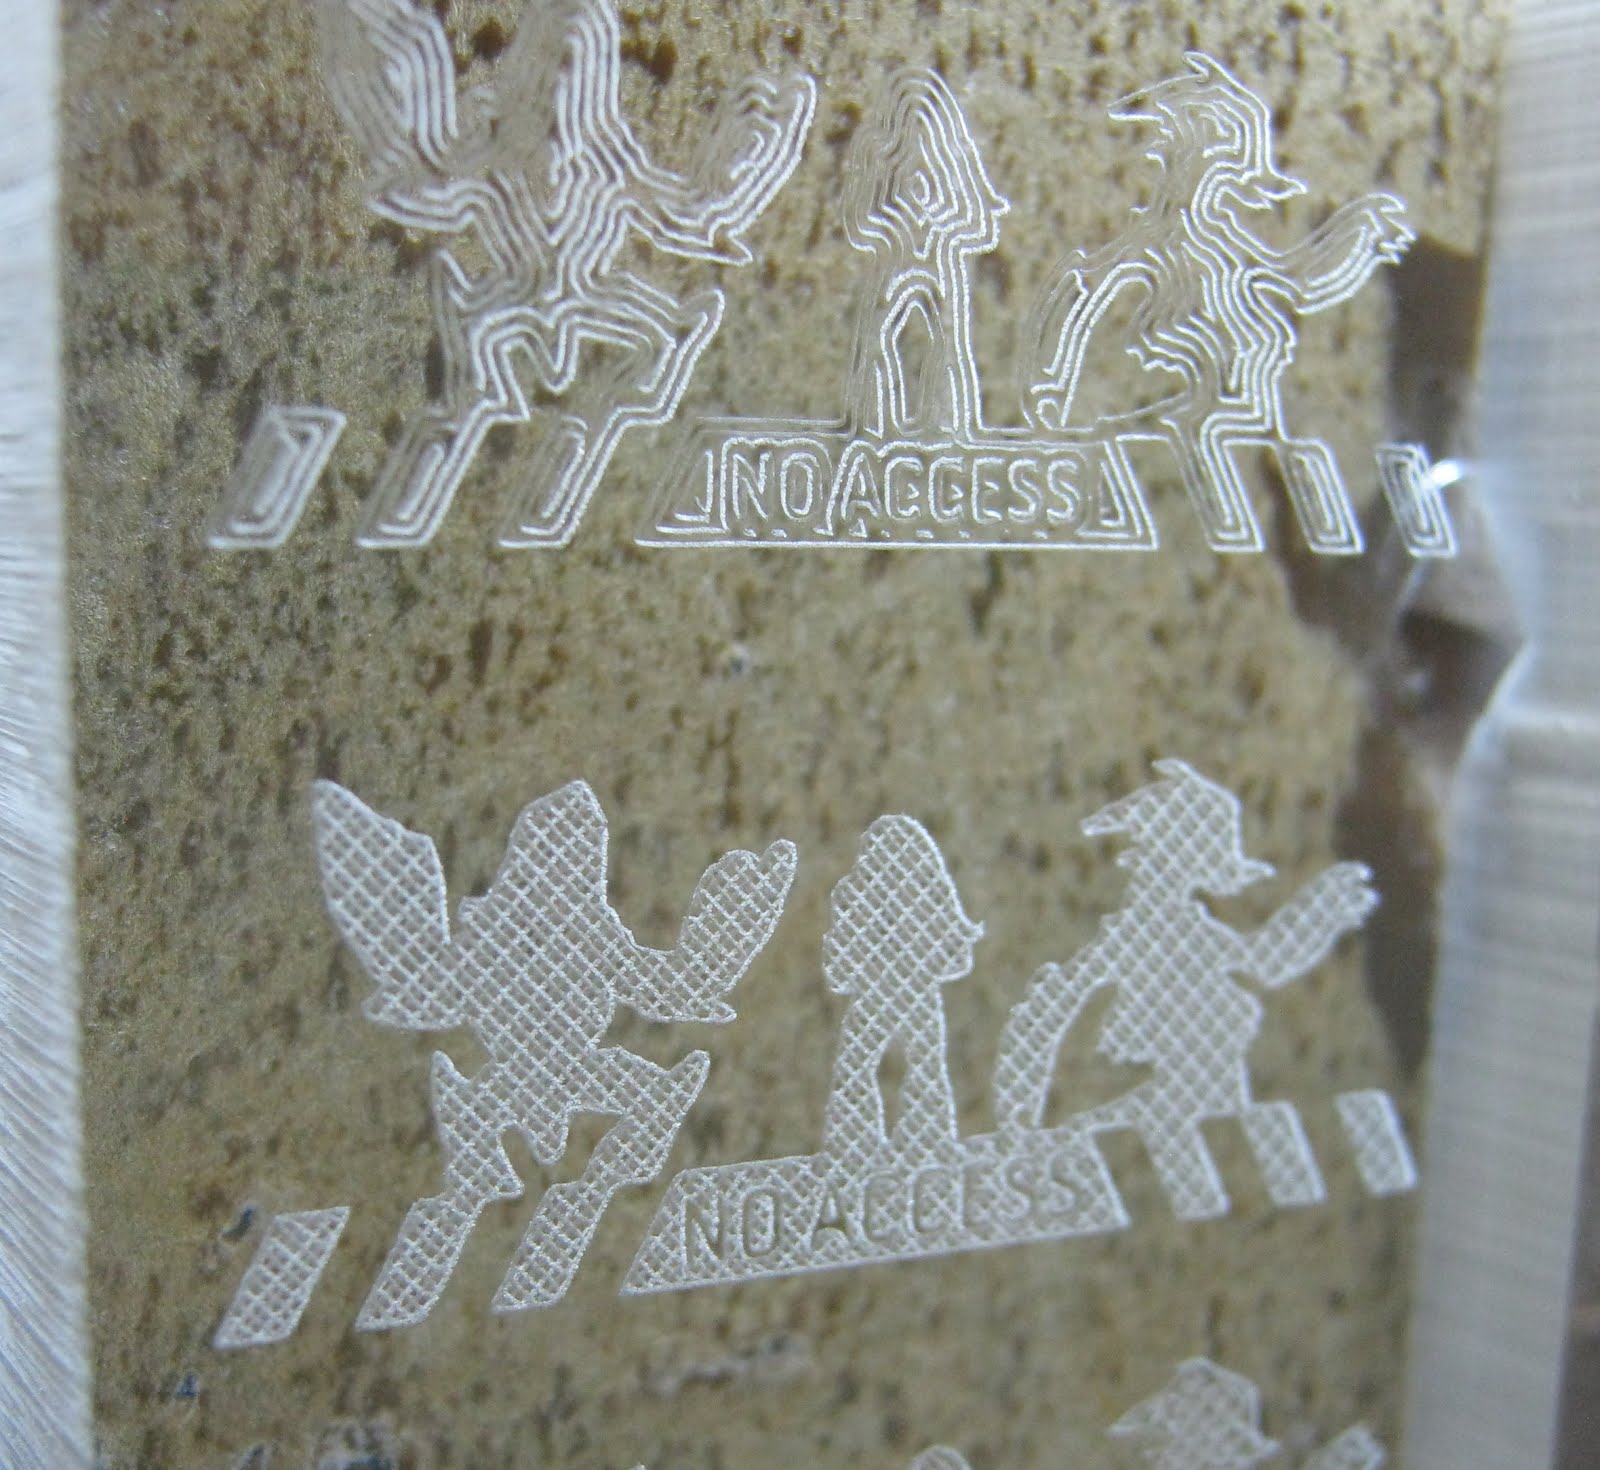
I put the entire tube in the router as though it were a 1/4" CNC bit and turned the router off to prevent spinning. A couple samples in scrap acrylic yielded a mixed success. The general shapes are visible, but the tube was too long with too much flex.
I reused the design from my dust boot to mount a larger support to the machine. The length of wood prevents flexing.
A thumb screw holds the tube in place. In this picture, you can see how the washer allows only the tip of the drag bit out. It lacks the vertical give of a professional holder, so it only works on flat work surfaces.
The new tests are much sharper! This is the level of quality I was striving for. You can see how the cross hatch pattern looks less scribbly.
My first project with the new drag bit was to make a replacement piece for a board game I enjoy. The original game piece was large, flimsy, and blocked that players' view of the spaces behind. For scale, the green bug on top is about the size of a quarter.