Sunday, April 2, 2017

CNC Dust Boot

Using the CNC machine can be a messy job. Cutting hardwood often leaves a wonderful scent in the air, but shavings get everywhere. The worst offender, by far, was some black HDPE plastic I cut. The shavings consumed much more volume than the original piece, they static-clung to everything and got everywhere.


The common solution for CNC owners, especially those with a good dust collection system in their workshops, is to create a dust boot (or dust shoe). Rockler sells a dust boot for my machine, but it costs more than I wanted to pay. I decided to take the hobbyist route and make my own instead.

All the dust boots I've seen require modifying the machine in some form. Usually they require replacing existing bolts with longer ones or replacing the clamp or spacer in some form. I wanted a solution that worked without modifications. The existing bolts are long enough to put an extra nut on, but there's no space for material in addition to the nuts. After taking some measurements, I determined I could use the existing bolt tails if I could find a nut that would protrude through the material to access the bolt threads. T-nuts did the job perfectly. The picture does a better job of explaining this than I do.


I ended up making two prototypes out of plywood before finalyzing it with acrylic, which is much more expensive.


To complete the dust boot, I added the skirt, which I think was intended for conveyor belt systems. Copper tape and a grounding wire were also added so I can ground the vacuum hose and prevent the static cling that occurs on the hose's exterior.

Wednesday, March 8, 2017

Piano Shelves

If you follow the blog, you've seen a lot of shelves. This is the first time I've attempted indoor shelves, where function isn't the sole consideration. These plans are of my own design. I visited the lumberyard for a separate project and found a limited acquisition of myrtlewood they had on their clearance rack. The lumber was rough in several spots, but had a lot of great character. We purchased these three boards.


Everything was cut down to size with a circular saw and evened out on the table saw.


I cut out supports on the CNC machine and glued them together three-ply. This could have been done with a table saw and miter saw, but I thought the recess would be a fun, easy touch.


After routing grooves into the side panels, I glued the supports in place, stained everything. I did a test fit on the wall prior to final cuts and finishing.


A couple coats of semi-gloss polyurethane, everything really shines. It's ready to be hung on the wall.


The supporting pieces are attached to the wall. The main supports are held in place with Spax lagbolts, which are thin, 6" lag screws that can hold around 900 pounds apiece. The supports will carry the weight of the finished shelves, which are simply be lifted over the supports and held in place with gravity.


The finished shelves hang on the wall where they don't cover the heat register. And they look great.

Friday, December 30, 2016

Mahogany Cribbage Board

A good friend of mine approached me about making a cribbage board for his parents. He provided a couple pieces of mahogany, some spray-on shellac, and design ideas. I helped out with the tools.

Once we worked out a design and performed a few test cuts, the CNC machine did most of the work.


Prior to cutting the final cut, I took a 90-degree V bit and cut around the profile of the piece. This results in the 45-degree champfer you see around the edge, rather than a 90-degree sharp corner. It makes the project look more polished and professional.


My friend added two or three coats of shellac and the board came out perfectly. It'll make a great gift.

Sunday, December 25, 2016

Paradise Jewelry Box

A year or two back, my father suggested I should make a jewelry box for my mother. It took me a while to find a design I liked and work up the courage to put it all together. The box is made from solid maple, cut on the CNC machine, and finished with oil and polyurethane.

The box top (the lid) was too wide for anything I could find at the lumber yard, so I glued together a couple pieces.


The sides and top of the box have a beautiful V-carved pattern. This is a cornerstone feature of the software that came with my CNC machine. It's easy to design using only an image and a lot of fun to watch. I took a video of the top being carved and sped it up. It's mesmerizing.

When the cutting is complete, you can't tell the lid was once separate pieces of wood.


The font and back are similarly patterned, then glued together.


I finished the box with a mixture of boiled linseed oil and polyurethane, thinned down with mineral spirits. On the bottom, I engraved the date and a hand-written message, which I'd scanned into the computer and converted to a CNC path.


After adding a short piano hinge and rubber feet, the box is complete! It turned out well. Merry Christmas, Mom!


Sunday, October 30, 2016

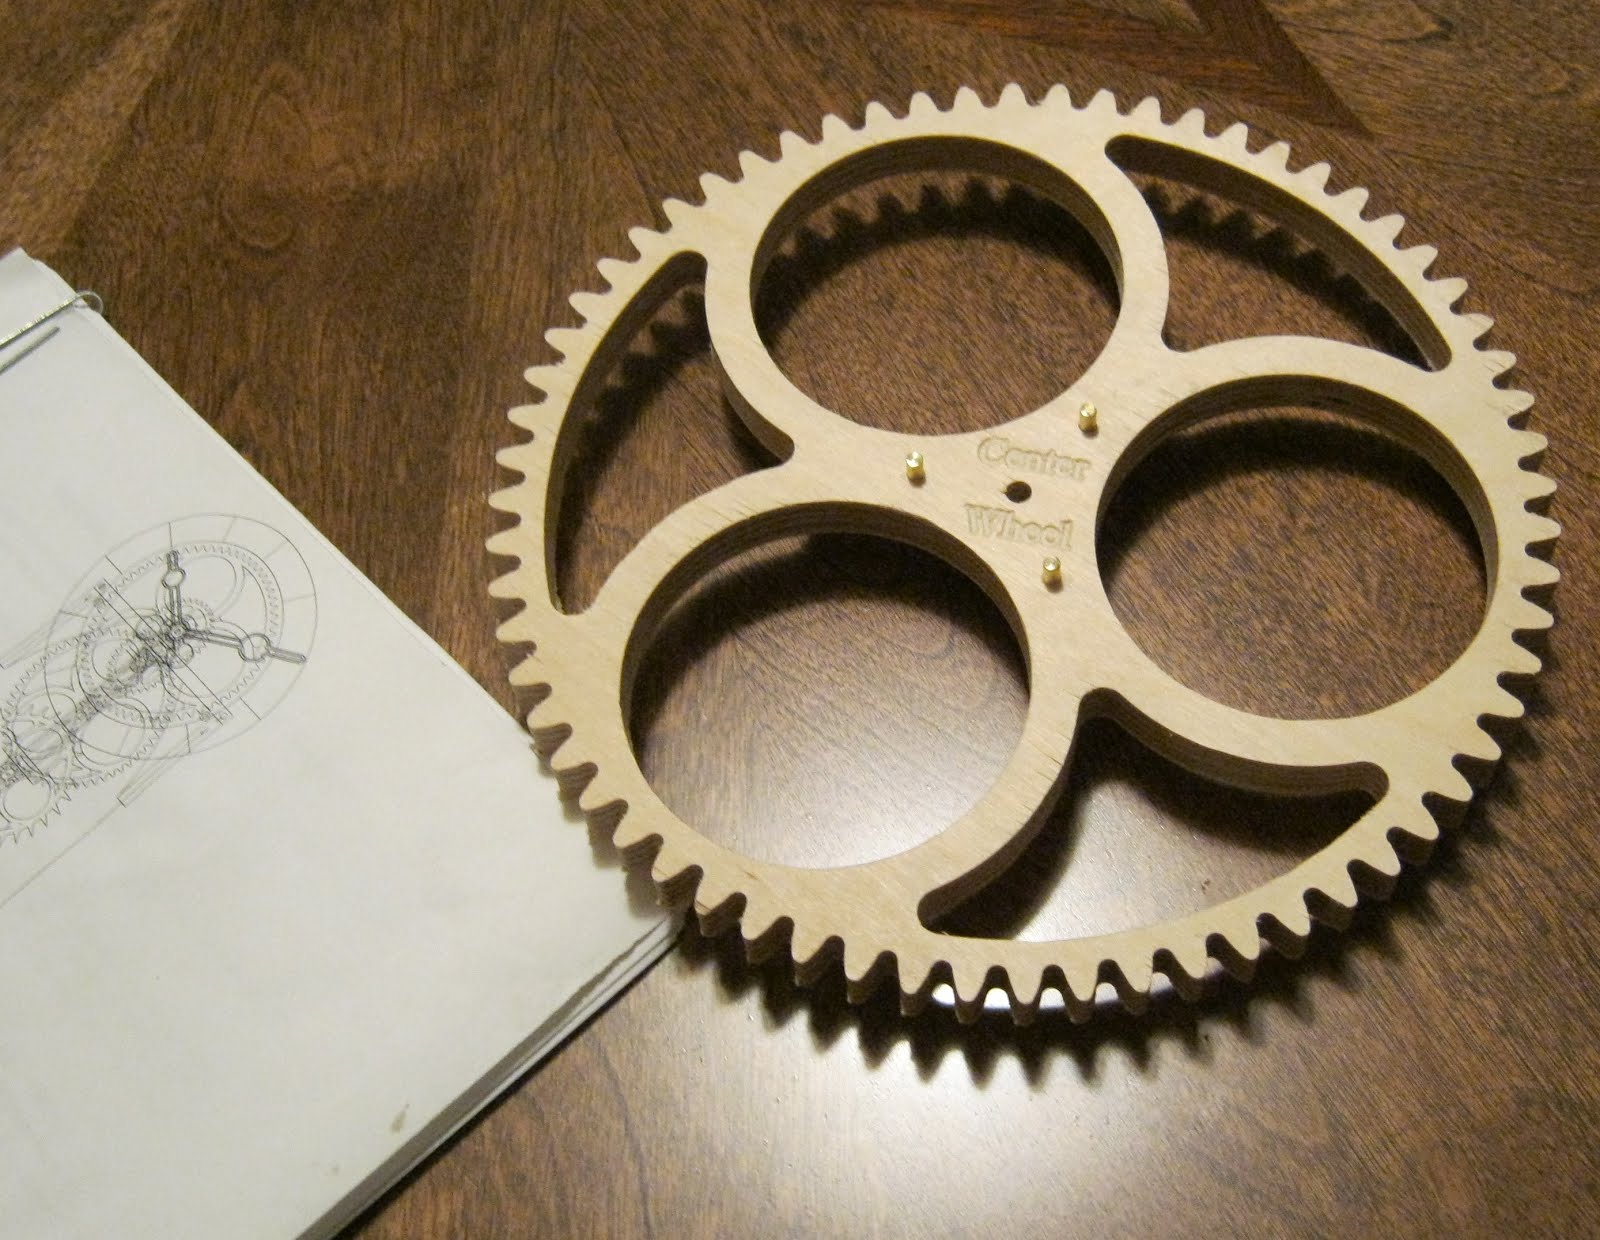
Simplicity Wooden Clock

[Updated August 2017 with walnut hands]

I've always had a thing for unique clocks and timepieces. They're harder to find than you might think. Try Googling it. Go ahead, I'll wait. All done? Great. Then you've noticed that any "unique clocks" or similar search mostly returns your traditional clock hands with a different printed face. These are often humorous and entertaining, but not really what I want. One day I ran across plans for a wooden clock and knew I was hooked.

This is going to be a long post. :)


In August of 2009, I purchase plans for Simplicity. I had no woodworking skills at the time and had planned to make all the parts by hand on a scroll saw. I had a friend who provided the tools and helped me in purchasing the birch plywood. However, the time commitment didn't meet his interest level, so he bailed on the project. Lacking the proper tools, I put the project aside for several years. I'm grateful he selected the plywood for me. It's what I ended up using in the final project.

Five years later, I had started doing the projects on this blog and purchased a CNC machine. It's the most awesome tool ever! After a couple dozen hours tweaking the design files, I started cutting pieces.


I learned a lot about my new CNC during this process. If I had it to do again, I'd be faster, make fewer mistakes, and throw away far fewer bad pieces. Regardless, the final pieces came together well.


The dremel tool was invaluable for cutting the brass pieces, which are both functional and visually striking in the wooden clock.


Just when everything was finally coming together, we packed everything up and moved. The new house's projects took up most of my free time and you can see many of them chronicled here. A couple months ago, I got around to working on the clock again. By this point, I was worried that my novice approach and compounded mistakes would prevent the clock from ever running. Still, it looked nice!


One of my biggest problems was trying to use a hand drill in place of a drill press. The precision of the clock requires true, perpendicular drilling. I ended up needing to fill in, sand, and re-drill some of the holes on the drill press I have since acquired. In this picture, I have the escapement gear filled in and ready to be sanded and drilled.


At last everything was filed down and sanded to perfection. The gears meshed well and the frame was mounted on the wall for final troubleshooting. I needed a weight for initial testing and grabbed the first thing I saw in the kitchen: a stock pot. It looked funny, but worked great. First, I ran the clock without any escapement to break in the gears. Afterwards, the escapement and pendulum were added.


Before tinkering and adjustments, the clock would run for a few minutes at a time before seizing. The first time it ran through the night was as exciting as when my son first slept through the night. I placed a scale under the pot to determine how much weight the scale would need to bear before the clock would stop. Subtracting the scale's reading from the pot's weight gave me an idea of how much weight the clock requires to run. I made some weights, filled them with pennies, and returned the pot to my wife.


With the weights, the full clock is complete! It actually runs, tells good time, and is tremendously satisfying to watch. I'm stoked! The clock is magnificent and has a pleasant, steady tick. It runs for maybe 30 hours on a wind using a 2.75 lb weight.


Thanks for reading. It's been a long road and I'm very pleased with how everything turned out.

(August  2017 update) The clock has been ticking steadily for months now! I finally decided it was too hard to read the time from a distance, so I replaced the original birch ply hands with walnut hands. They provide a nice contrast.

Sunday, October 23, 2016

Another End Grain Cutting Board

I don't know why I decided to do another cutting board. The last one took lots of time and the lumber alone for this one cost $40. I just had the itch, I guess. Maybe I'm a masochist also. This wood is cherry and maple with some nice, dark walnut on the sides.


This time I tried using my CNC machine as a planer. It worked remarkably well! This picture was taken from the CNC webcam I set up so I can monitor the machine from my computer or tablet. The picture quality is okay and it allows me to get stuff done while I gawk at the machining process.


After planing, it's back to cutting on my updated table saw (a flea market find and much improved/safer than the old one), flipping pieces around, and gluing again. I had hoped for a larger board, but had a few cutting problems that results in some pieces being unusable.

In this picture, the final glue-up is complete and the board is ready to be planed for the final time. Because it's end-grain, a normal planer won't safely work. Last time I belt-sanded for hours. This time it only took a half hour on the belt after the CNC pass.


Finally, it's finishing oil and complete! I love this step because it's quick and the wood turns even more beautiful. I haven't decided if I want to keep it or find a way to sell it to support future projects.

Thursday, October 20, 2016

Marble Maze Board

Let's take a break from useful projects and do something fun! I've been throwing around several ideas for making labyrinth toys out of wood. It would be fun to have mazes that span both sides of the board, possibly changing sides as it travels. There are lots of possibilities, but I started a little simpler to prove out the idea.


The maze is fun to solve! It was created on my CNC machine using a program I wrote to design the maze, trace it out with a flat-end (cylindrical) bit, then carve out a wider path underneath the openings with a ball (round) bit. The last step was a little tricky because the machine has to traverse the entire maze without retracting and plunging, except in the starting spot. The intention was for the marble to remain stuck in the maze even when the board is held upside-down. It's a little easier to see in the close-up.


It doesn't quite work, however. The marble can still fall out at any junction of three or more paths. Still, the issue isn't insurmountable and, with a little more math, I think I can work around it.

Incidentally, what I carved was a 6-junction maze, where the maze can consider 6 different ways of leaving any given point. I also designed the program to work with 3-junction mazes and the traditional 4-junction mazes. The mock-ups below show the differences, but the program isn't able to simulate the round ball bit the way I described earlier so it's not a perfect preview of the process.